
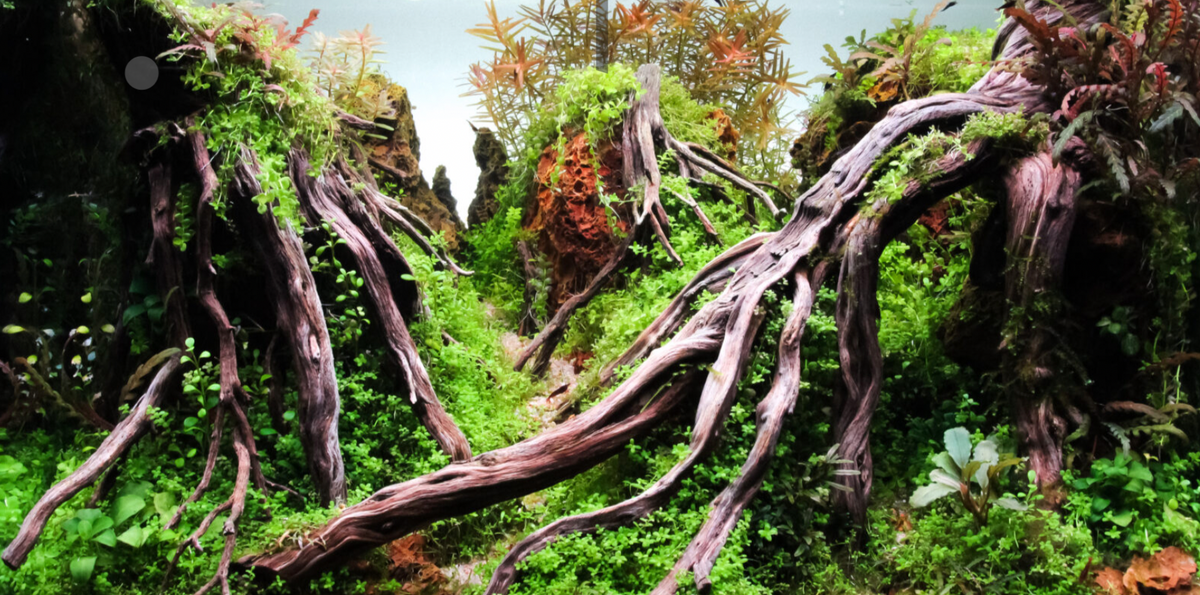
Running a planted aquarium can be challenging and for many - disappointing. The reason behind this is the complexity of different aspects of the aquarium; starting from water, tank size, choosing aquarium plants, livestock, maintaining stable water parameters, and so many other things around keeping the planted aquarium good-looking. Understanding the science behind it is the first thing every aquarist should start with. Today, we would like to explain why aquarium CO2 system is beneficial for your aquarium, how to choose the best CO2 setup and also how to keep the optimal plant growth under control.

Why inject CO2 into a planted aquarium?
Here we have to go back to school, where the photosynthesis process was discussed. Plants, both underwater and above it, need carbon dioxide to develop. While plants that grow under the sun have an easier task to do, the plants under the water surface don't have abundant access to this precious gas. In consequence, the photosynthesis process is slower in planted aquariums, and here is why some plant species need our attention to grow their best, and not melt or develop algae.
What CO2 injection methods were developed?
The cheapest way to supply an aquarium with CO2 is to mix some sugar and yeast, close it in a plastic bottle and, with tubing, pass the gas into aquarium water. However, there is a main drawback of this solution: no control over the CO2 being injected into the aquarium and... the chemistry itself - just look at some forums where people share their walls totally stained by this mixture.
Not sure if this was the reason people started to think about pressurized CO2 systems - in this case, CO2 is not "generated" by aquarists, but simply sourced from a CO2 cylinder. The other part of the CO2 system the cylinder is connected to is the CO2 regulator. This tricky device allows precise adjustment of CO2 being injected into the aquarium; always look for one with dual-stage construction. Why? Dual-stage construction means that the gas must go through two stages of the regulator. The first stage is responsible for keeping the high pressure, while the second stage is designed to reduce the high pressure into a more manageable, lower working pressure, optimized for the diffuser you'll be operating. This design prevents end tank dump and will keep your livestock safe and sound, giving you full control and precision in managing the CO2 supplementation.
How to choose the best CO2 diffuser for the aquarium?
Firstly, this will mainly depend on the filtration you have in the aquarium. Generally, the diffuser is responsible for breaking CO2 coming from the regulator into a stream of tiny CO2 bubbles that readily dissolve in water column. And here are two ways of effective CO2 injection: through the diffuser placed outside the aquarium, precisely on the external filter's hose, or inside the aquarium, through an in-tank diffuser.

The first option is generally more efficient, as water mixes with CO2 before entering the tank, so the whole filtered water is already supplemented with CO2. In case of the in-tank CO2 diffuser, this device is placed inside the aquarium, preferably under the filter outlet, so the CO2 mixes with water right in the aquarium and delivers bubbles throughout the tank with the water current. Although both methods can be used to run a thriving planted aquarium, if you have an external canister filter, go for inline. Mainly because there will be less equipment inside the aquarium, giving more space for plants and fish. If you have a traditional sponge filter, HOB filter or any other internal filtration system, choose the in-tank diffuser, for example, Flux Bazooka or IO model, and with the right placement and water flow, your plants will be super happy as well.
How do I know how to dial in the CO2 system?
The planted tank hobby is growing every year, just like our aquariums with CO2 :) The industry has invented pH controllers, advanced computers managing the CO2 systems themselves and whatnot. But there is one particular method used for setting and controlling the CO2 supplementation: drop checker and bubble counter. If you haven't met these terms so far, we encourage you to have a look at our detailed article about 7 Things You Need To Know about Drop Checkers LINK.
Generally, the bubble counter is used to estimate the amount of CO2 being injected into the aquarium. Counting bubbles per second or per minute in the bubble counter's chamber gives us an idea of how much we inject, while the drop checker shows us how much CO2 we have injected.

The drop checker is a glass vessel intended to be placed inside the aquarium, as it contains a pre-mixed 4dKh solution that reflects the CO2 concentration in the water column. If there is too much CO2, the indicator turns yellow; if there is too little CO2, the indicator remains blue. The optimum CO2 concentration is when the CO2 drop checker turns green. So to sum up, the drop checker is used to literally see how much CO2 is present in the aquarium water, while the bubble counter is used to adjust the CO2 flow from the regulator. This should be adjusted gradually by turning the needle valve attached to the regulator. To fully understand the science between the bubble counter and the drop checker, once again, we encourage you to visit our great article about this under this LINK.
Another important setting on your CO2 system is the working pressure on your regulator. We can call it "a force" used to push CO2 through the ceramic diffuser. This setting is very important and let me explain why: many hobbyists run their high-pressure atomizers under the minimum pressure, worrying that higher pressure could harm their fish, while it's quite the opposite. If the diffuser is run at too low pressure, it will clog much earlier than expected and gas will have difficulty passing through the membrane. Over time, there can be a pressure buildup in the tubing and once it achieves the "force" to overcome the resistance, this buildup turns into a sudden burst of CO2 into the aquarium, which can indeed be dangerous to the livestock. This is because the fish or shrimp may get suffocated, as the plants can't consume such a large amount of CO2 immediately. Therefore, keeping sufficient working pressure for your diffuser is a must. For high-pressure atomizers, like Bazooka or the Inline Diffuser, keep the pressure between 40-50 psi for best performance. Reactors can be run at 10-20psi as they don't give resistance to the CO2 system.
Next, remember that the plants' consumption of CO2 depends on light as well. In this article, we explain the correlation between CO2 and light- this knowledge is obligatory if you don't want to grow algae. Basically, the more CO2 we inject, the stronger the lighting should be, and vice versa. Visit the article under this LINK.
And generally that's it- keep the settings stable and make any adjustments gradually, to avoid sudden changes in water parameters. The aquarium fauna doesn't like it!
Optional accessories for the CO2 system
Apart from the aforementioned pH controllers and advanced computers, there are a few accessories that not only make the planted aquarium well-managed, but also look supreme.
Precision CO2 Check valve
There are several components that may support your CO2 system to keep it functional and fully protected. The first accessory we want to discuss is the check valve - this tricky device allows CO2 flow in one direction only, preventing the expensive regulator from water backflow and damage.

Although both of our regulators come with a check valve incorporated into the bubble counter, some customers like to add one just near the bubble counter to make it easier for refilling it or near the rim of the aquarium if an in-tank diffuser is used. Small item - big difference!
You can view this product here: https://www.co2art.us/collections/co2-accessories/products/new-pro-series-precision-co2-check-valve
Timer
Consistency and regularity are something your aquarium needs- just like us, plants and fish need day and night cycle for optimal growth and health. That's why simple timers are recommended to switch on/off the lights and CO2. Turn the CO2 on about 1–2 hours before the lights come on so the aquarium reaches the proper CO2 level before the plants begin photosynthesizing. Leave the CO2 running while the lights are on, then turn it off about 1 hour before the lights go out. The lights should stay on for around 6–8 hours per day, depending on the needs of your plants and aquarium. As the regulator is equipped with a solenoid and power plug, it's super easy to get everything connected and implement stability.
Stainless Steel U-bend
A stainless steel u-bend is a great solution for aquarists who prefer to inject CO2 via an in-tank diffuser. However, this U-bend can be used if the aquarium is rimless, as the largest size is dedicated to glass of 0.8" thickness, which is usually too small for even a thin rim. The u-bend keeps the tubing neatly in place, making the overall appearance clean and tidy. For hobbyists having an aquarium with a lid or rim, using a set of suction cups can be a great alternative.

Leak Detection Fluid
Another optional component, but so important! A leak-free connection of all CO2 components is super important. The worst thing ever is wasting gas because of an untightly connected regulator or the bubble counter. Therefore, it's a good practice to spray all CO2 connections with leak detection fluid, or even a mix of soap and water, every time you refill the bubble counter, or disconnect the CO2 cylinder from the regulator for exchange. If the bubbles form where the fittings connect, this indicates a leak. If the leak is present at the bubble counter or between the regulator and the CO2 bottle, check if there are sealing O-rings placed securely on the threads. If the bubbles form on the regulator itself, contact our support team for troubleshooting steps.
Spare CO2 Cylinder
There is nothing worse than the middle of the weekend and a lack of gas in the CO2 cylinder - no place to go for refilling, no places to buy a new one. Therefore, having a spare cylinder is super convenient in case your current bottle empties. Remember to keep it in a secure place at room temperature.
Final Thoughts
Having a planted aquarium is undoubtedly a fantastic hobby and CO2 supplementation helps us to enjoy our plants even more. However, we need to remember that behind every successful aquascape, there is a complete CO2 system, allowing precise control over pH/CO2 parameters.

Investing in a decent CO2 gear gives your ecosystem reliability, safety and durable operation. If you'd like to start your journey with CO2 injection and have any questions related to the equipment or parameters, don't hesitate to contact our Customer Service at support@co2art.us. Our experienced colleagues are happy to advise on what you'll need for your setup and provide detailed information about every aspect of the planted tank hobby that may concern you.
Pssst!
New to CO2Art? Take advantage of our welcome discount! Simply add all items to the cart and at checkout, use code WELCOME10 to receive a 10% discount on your first purchase!

Share:
Comprehensive guide to managing black beard algae in aquariums
Aquarium Bacteria: Beneficial Bacteria Explained